
Creating festive Halloween decorations for a child’s room can be a fun and engaging way to celebrate the season.
These DIY projects offer a chance for creativity and hands-on activity, helping to bring a bit of spooky charm indoors without overwhelming younger kids.
The best part is that these 15 easy DIY decorations are designed to be safe, simple, and enjoyable for kids to make and enjoy in their own space.
These ideas focus on creating a fun atmosphere while keeping everything kid-friendly and suitable for indoor use.
Glow-in-the-dark pumpkin garland
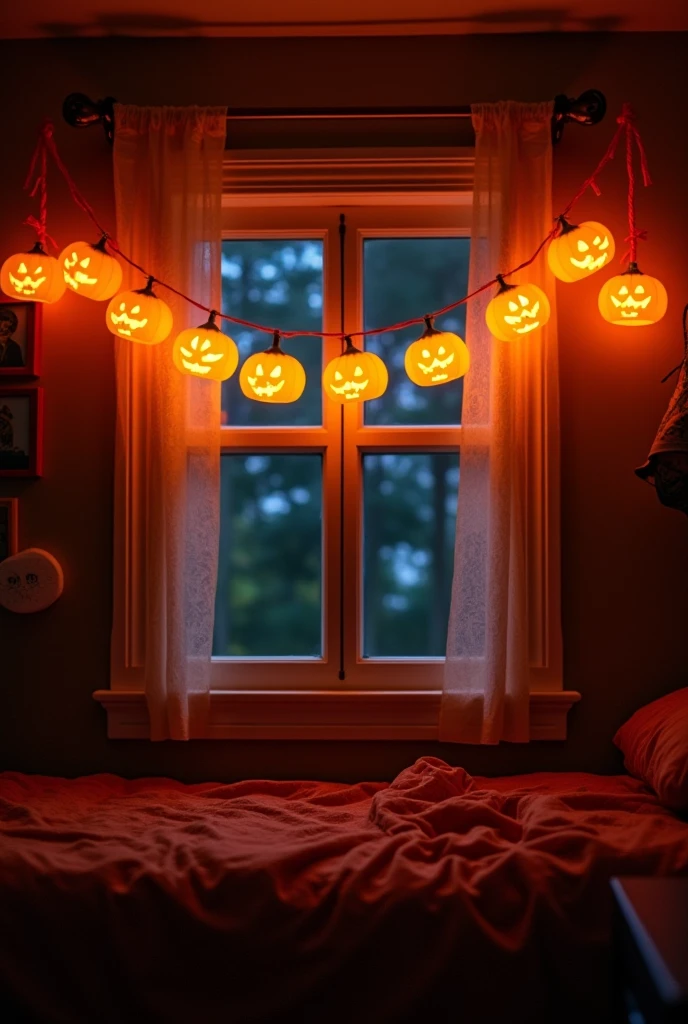
This decoration brightens a kid’s room with a fun Halloween vibe. To make it, paint small pumpkin shapes or use pumpkin cutouts with glow-in-the-dark paint. The glow effect adds a magical touch when the lights go out.
They can string the pumpkins together using thread or thin rope. Spacing them evenly creates a pleasing look across the wall or window. It’s simple, cozy, and safe for indoor spaces.
The glow paint needs a few hours in natural or bright light to “charge” before glowing in the dark. This project is easy enough for kids to help with, which makes it a great activity to share. It adds both decoration and fun to Halloween preparations.
Paper bats hanging from the ceiling
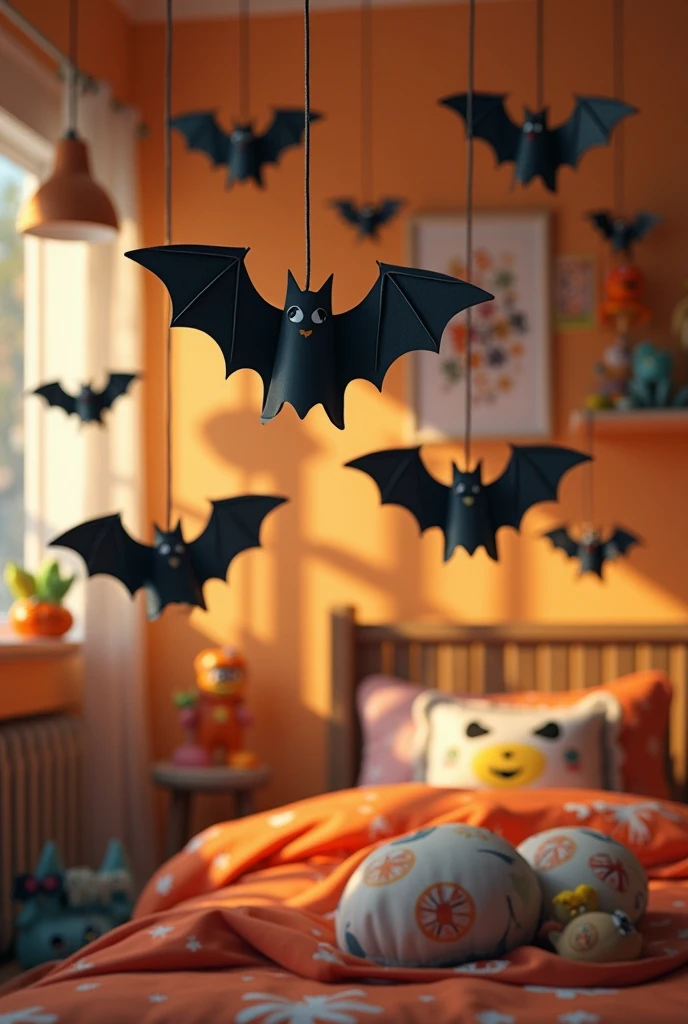
Paper bats are an easy and fun way to add spooky charm to a kid’s room. Using simple printable templates, they can be quickly cut out and folded to create a 3D effect. Hanging them from the ceiling gives a cool flying bat look.
They can be attached with string or fishing wire at different lengths to add depth. Placing them over a bed or play area makes the decorations more immersive. Kids can help with cutting, folding, and hanging the bats, making it a great craft activity.
Different sizes and shapes of bats add visual interest. Black construction paper or cardstock works well, but colored paper can make it playful too. These hanging bats are low-cost and easy to remove after Halloween.
DIY mason jar lanterns with LED candles
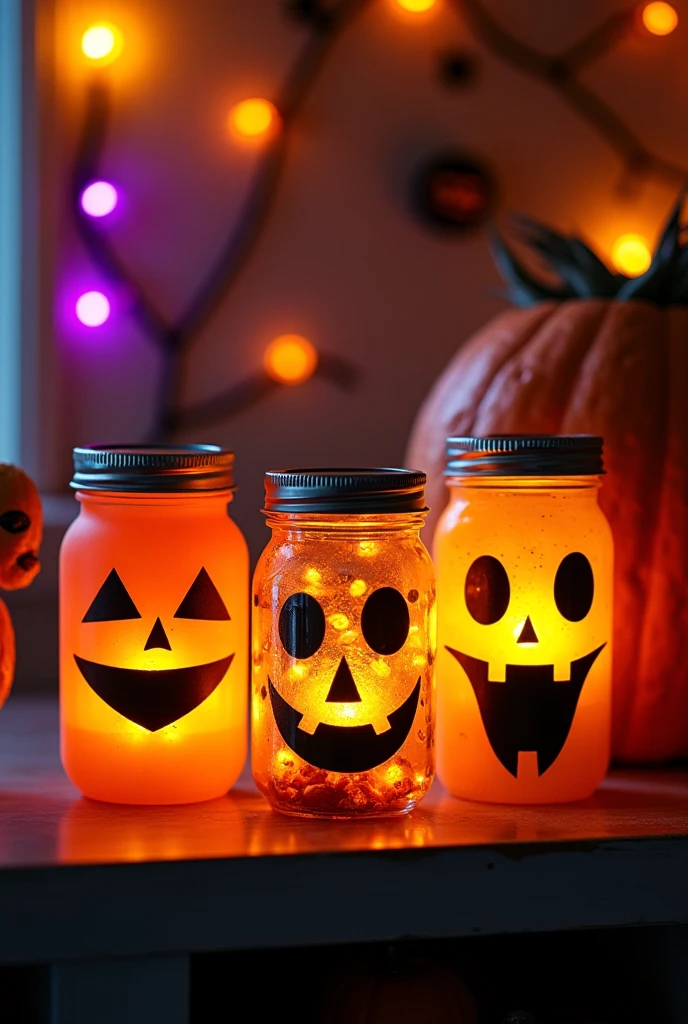
They can easily turn plain mason jars into charming Halloween lanterns with just a few simple supplies. Using battery-operated LED candles inside keeps the lanterns safe for kids’ rooms while creating a cozy glow.
To decorate, they might paint the jars with spooky designs or cover them with tissue paper in festive colors like orange and black. Adding cut-out shapes or faces makes each lantern unique and fun.
If hanging the lanterns, attaching twine or wire around the jar lid provides a secure handle. These lanterns work well as night lights or just as cheerful room decor during Halloween season.
This project is straightforward and suitable for kids, with adults helping to handle any hot glue or sharp objects. It’s a fun way to get creative and brighten the kids’ space with gentle, flickering light.
Painted rock spooky faces
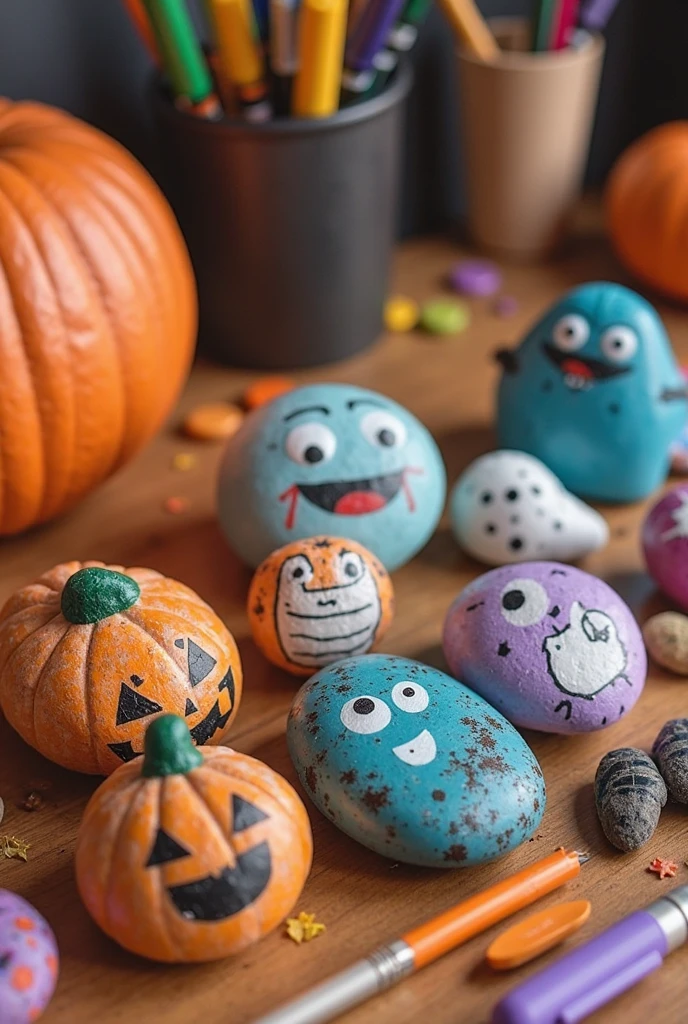
Painted rock spooky faces are a simple and fun craft for kids. They can use smooth rocks as their canvases and turn them into little Halloween decorations.
Using acrylic paint or paint markers, kids can create pumpkins, ghosts, bats, or silly monsters on the rocks. Adding big eyes, toothy grins, or spooky expressions makes each rock unique.
These painted rocks can be displayed on shelves, windowsills, or desks in a child’s room. They also make great little gifts or party favors for Halloween.
The project encourages creativity and is easy to set up with minimal supplies. Kids enjoy painting, and adults can help with the details or sealing the finished designs to keep them lasting longer.
Spiderweb made from cotton balls
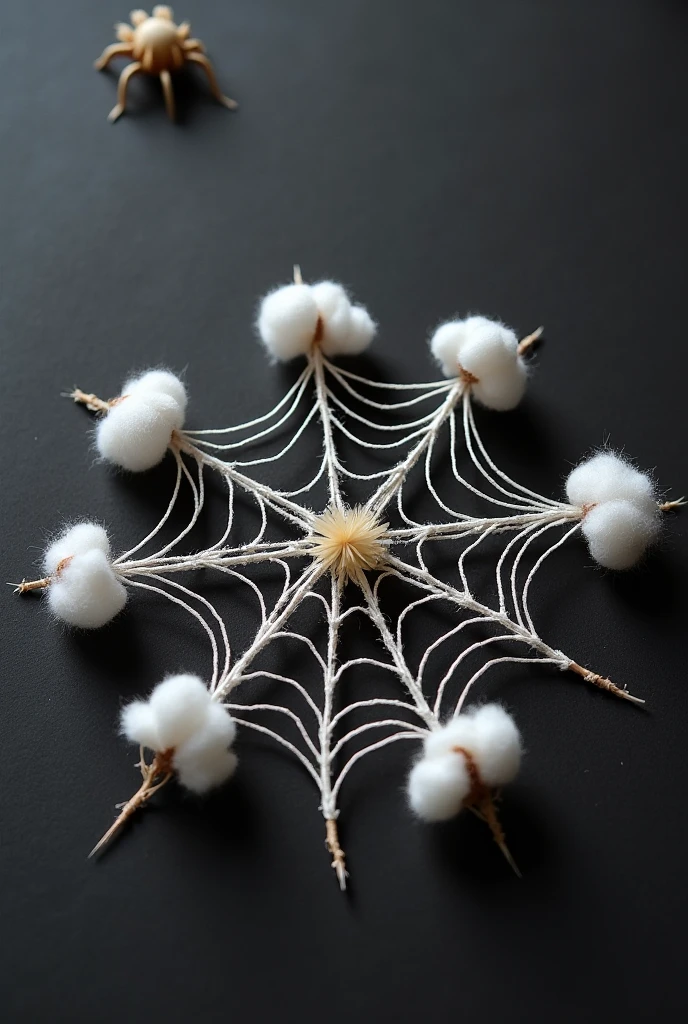
This spiderweb craft uses simple cotton balls to create a fun and spooky decoration. It’s easy for kids to handle and doesn’t require many materials. Just stretch and pull apart the cotton balls to form thin, web-like strands.
They can arrange these strands on black paper or a lightweight frame to mimic a spiderweb. Adding a small plastic spider or a paper cutout gives the web a playful, Halloween vibe.
Using cotton balls is safe and non-messy, making it perfect for indoor crafting. It also encourages creativity as kids shape the cotton into their desired web size and style. This decoration can be displayed on walls or windows for a festive touch.
Monster wall decals made from construction paper
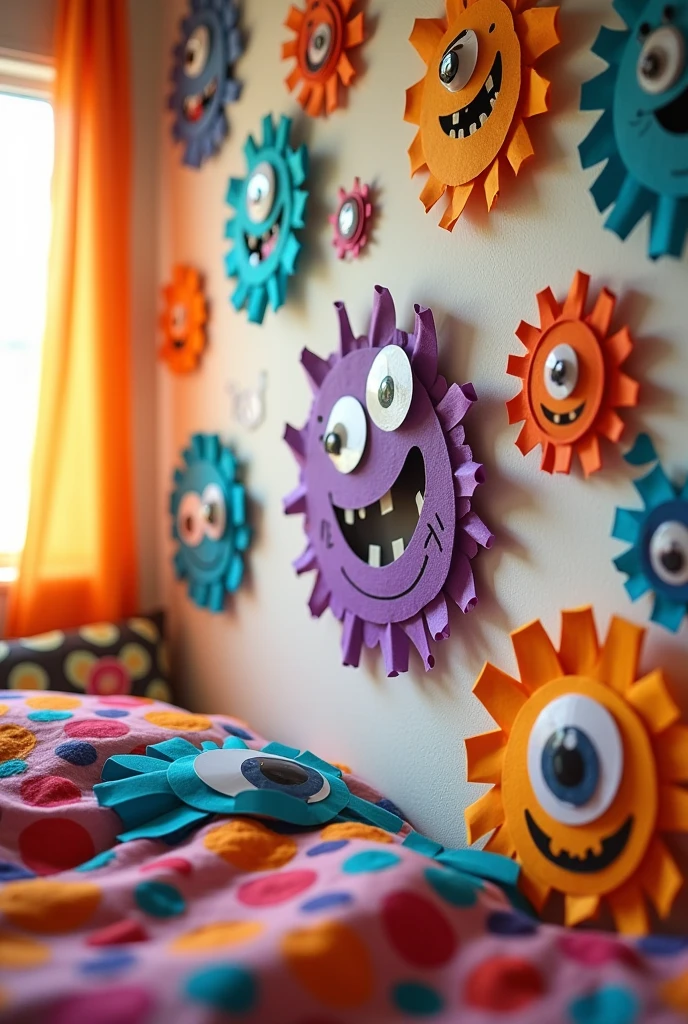
They can create fun monster shapes using construction paper, scissors, and glue. Simple shapes like circles, triangles, and rectangles make eyes, mouths, and limbs.
The paper pieces are cut out and glued together to form colorful monsters. These can then be taped or stuck on the walls of a kid’s room.
This activity encourages creativity since children can design their own unique monsters. It’s also a great way to practice cutting skills and learn about shapes and colors.
The monsters add a playful, spooky vibe without being too scary. They can be rearranged or replaced easily, making the decoration changeable.
Parents can involve kids of all ages in this craft. Younger children can focus on simple shapes; older kids can add details like horns or scales.
These wall decals are inexpensive and use basic craft supplies. They also brighten up the room with creative DIY décor that kids feel proud of.
Toilet paper roll mummies
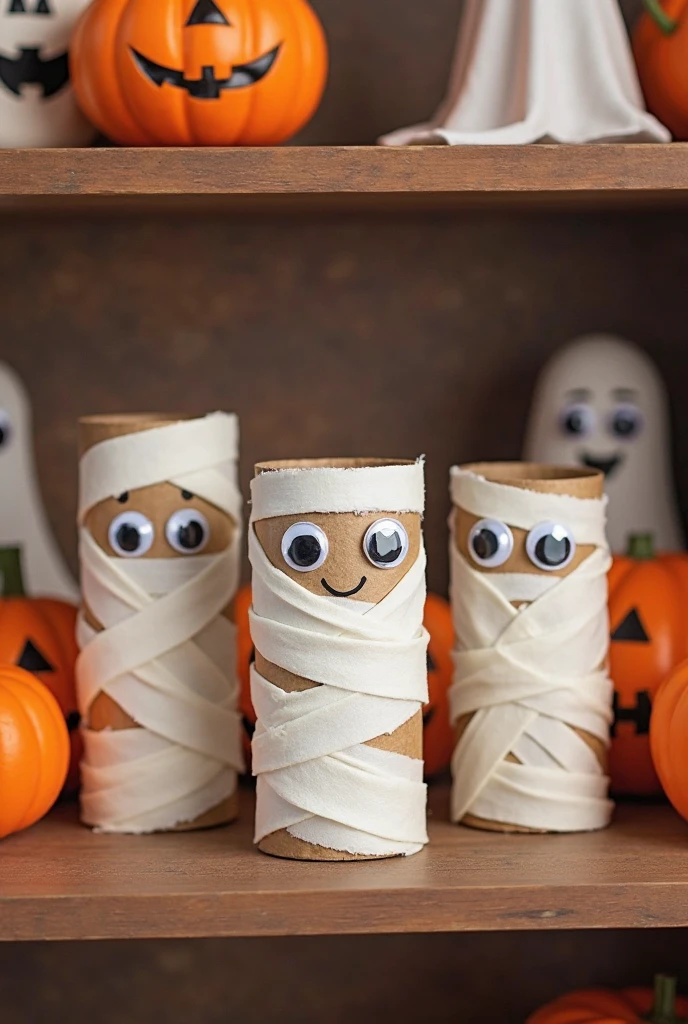
Toilet paper roll mummies are a simple and fun Halloween decoration for kids’ rooms. They use empty rolls wrapped in white tissue or gauze to create a cute mummy look. Adding googly eyes gives them personality and makes them really stand out.
This craft requires minimal supplies: toilet paper rolls, glue, white strips of paper or fabric, and eyes. Kids can wrap the rolls themselves, which helps improve their fine motor skills while having fun.
Once finished, the mummies can be placed on shelves, desks, or windowsills to add a festive touch. They are lightweight and safe for indoor use, making them perfect for decorating a child’s room.
To make it more exciting, children can customize their mummies with colored eyes or small accessories like paper hats or tiny bows. This keeps the craft creative and personalized without any mess or expense.
Paper plate ghost masks
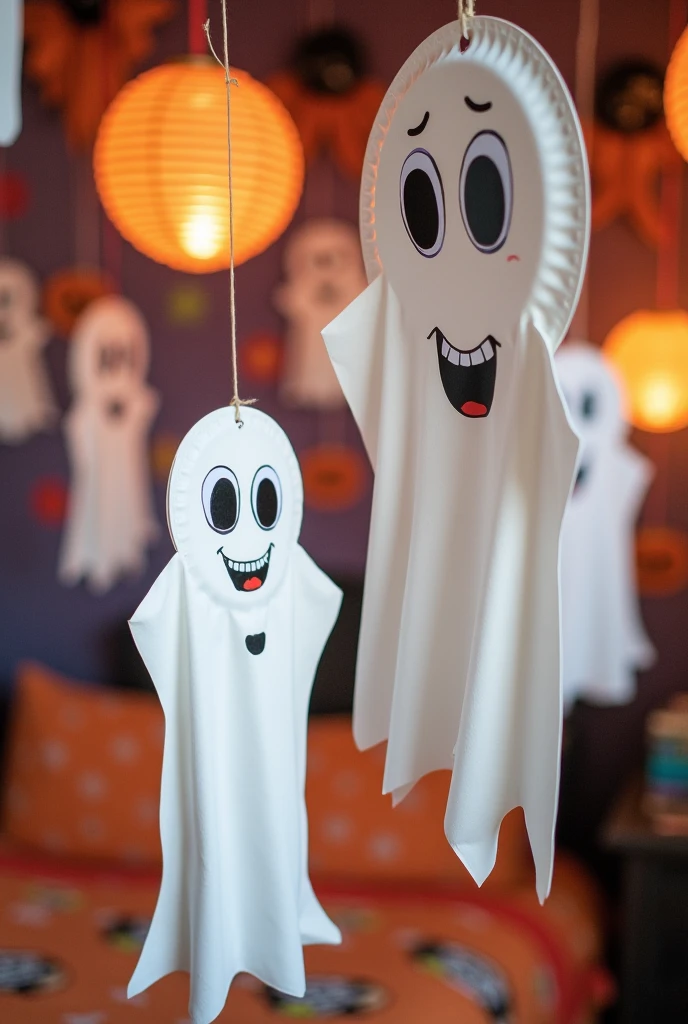
Paper plate ghost masks are a simple and fun craft for kids to make for Halloween. They only need paper plates, white paint or markers, and some elastic string or ribbon to wear the mask.
Children can paint or color spooky ghost faces on the plates. Cutting out holes for eyes makes it wearable as a mask. Adding details like eyebrows or a funny mouth helps personalize each mask.
These masks are great for imaginative play and room decoration. Hanging a few on the wall can create a friendly Halloween vibe in a kid’s room. It’s an easy project that encourages creativity with minimal materials.
Paper plate ghost masks suit a range of ages because they are quick to make but allow plenty of room for kids to add their own artistic touches. Parents or teachers can help with cutting while kids focus on decorating.
Handprint spider art
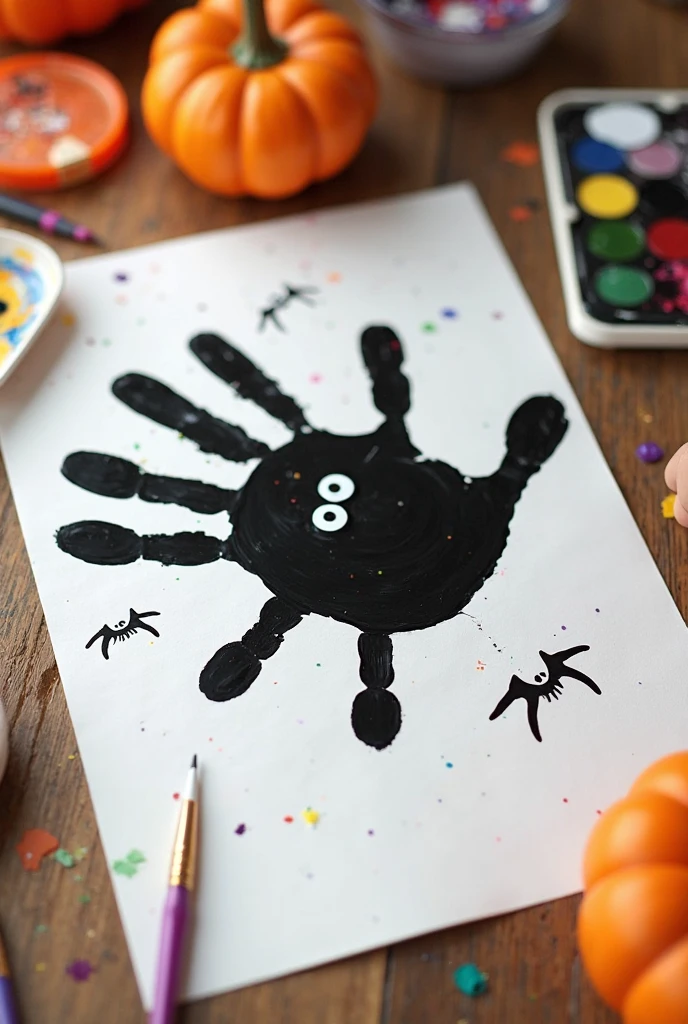
Handprint spider art is a simple and fun craft that kids enjoy making. It only requires basic materials like paint, paper, and a child’s hand. This project is perfect for adding a playful Halloween touch to a kid’s room.
To create the spider, the child’s handprint forms the spider’s body and legs. After the paint dries, eyes can be added using markers or small paper cutouts.
This craft not only sparks creativity but also makes a great keepsake. It’s easy to customize with different colors or sizes.
Parents or caregivers can use printable templates to guide younger kids. The result is a charming decoration that brightens up any indoor space during Halloween.
Pumpkin-shaped felt pillows
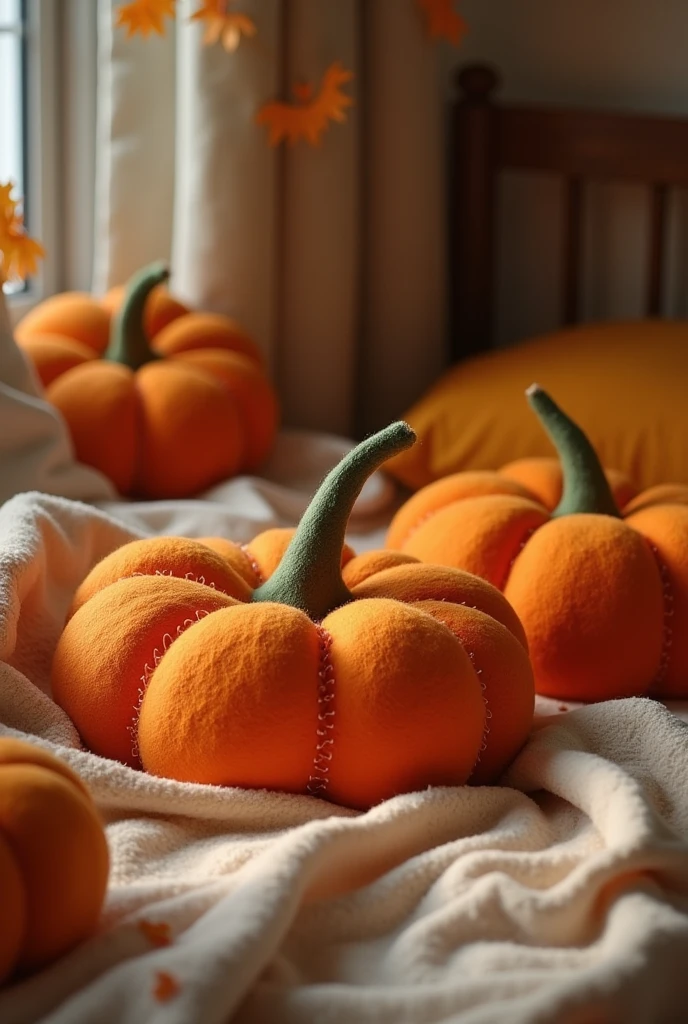
Pumpkin-shaped felt pillows are a cozy and cute way to add Halloween spirit to a kid’s room. They are soft, easy to make, and perfect for snuggling during the fall season. Plus, they bring a festive touch without being too spooky for little ones.
These pillows typically use bright orange felt for the pumpkin body and green felt for the stem. Filling them with polyester stuffing makes them plush and comfy. Basic sewing skills are enough to complete the project, and no advanced techniques are required.
For an easier version, some no-sew options use glue or fabric tape to piece everything together. This is great for kids who want to help with the craft. Decorating the pillows with stitched lines or felt cutouts can add texture and make them look more pumpkin-like.
Overall, these felt pumpkin pillows are budget-friendly and customizable. Parents and kids can choose different sizes or add fun faces to match the room’s Halloween decor. They brighten the space in a fun and kid-appropriate way.
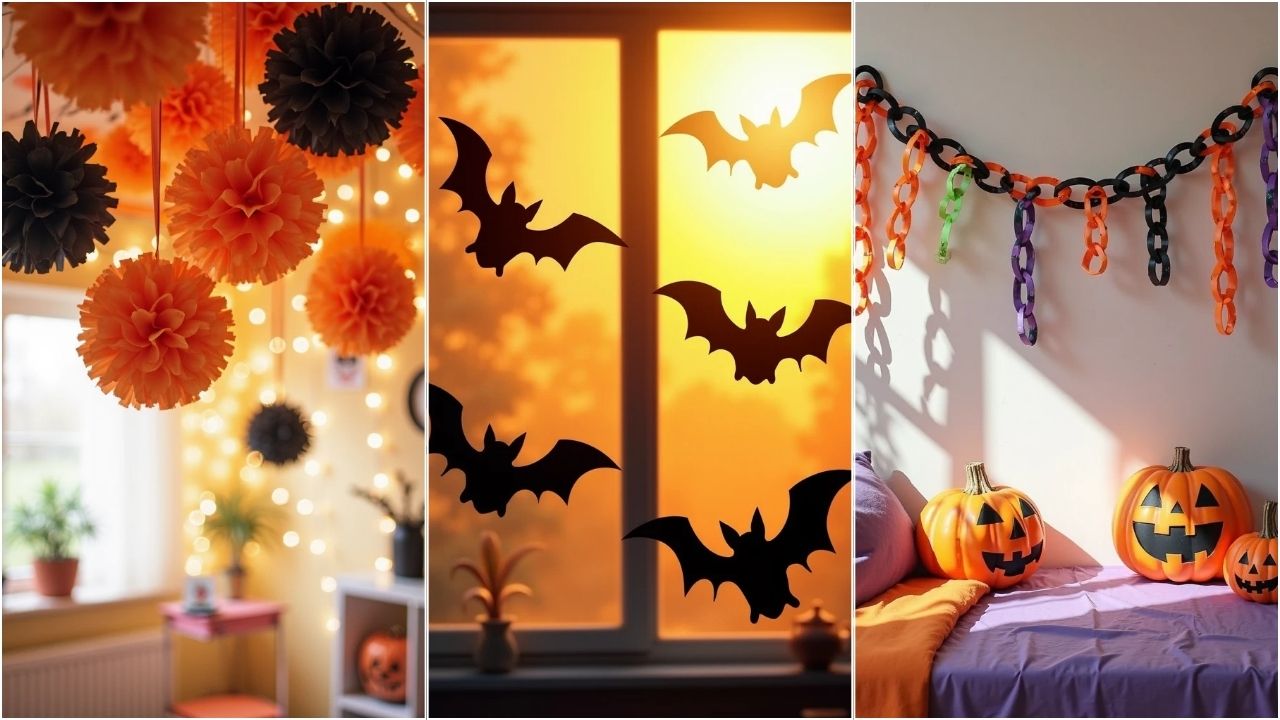
Orange and black tissue paper pom-poms
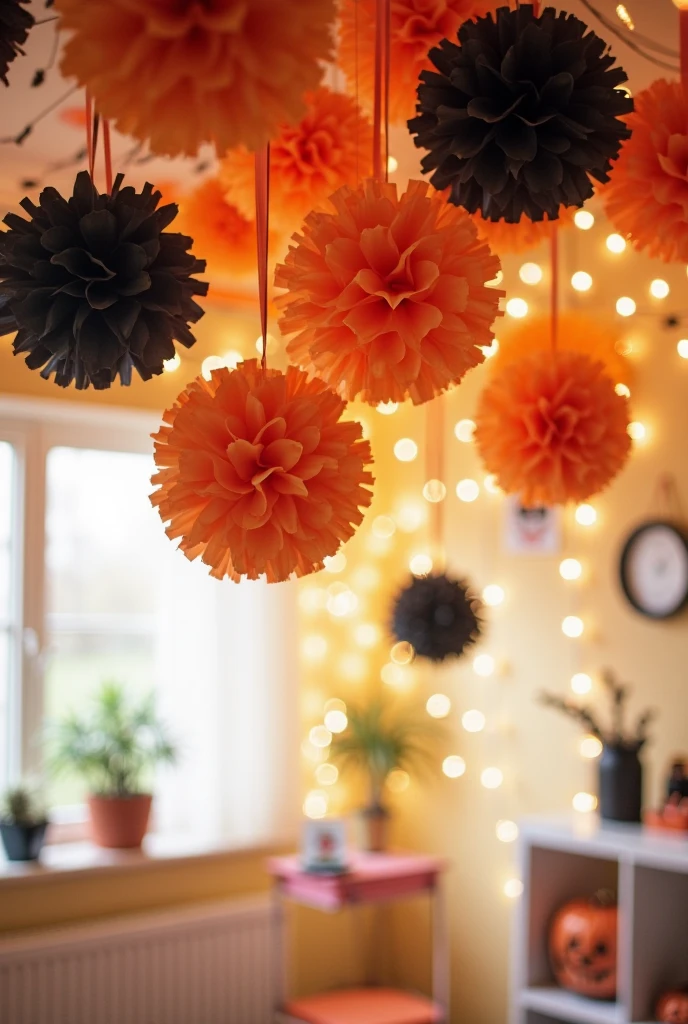
Orange and black tissue paper pom-poms bring a festive Halloween touch to any kids’ room. They are lightweight and easy to hang from ceilings, windows, or walls.
The pom-poms come pre-cut and pre-folded, so all they need is fluffing to create a full, fluffy shape. This makes them simple for children to help assemble with minimal adult supervision.
Using tissue paper in classic Halloween colors adds a fun and bright pop to the room’s decor. These pom-poms can be grouped in clusters or spread out for a balanced look.
They can also double as table decorations or be strung together to create a colorful garland. Making these pom-poms is a great way to involve kids in decorating while encouraging creativity.
Materials are affordable and often reusable for other occasions, so they offer a practical and festive option for Halloween decoration.
Related Post: 18 Dollar Store Halloween Decorations DIY Indoor
Witch hat made from cardstock
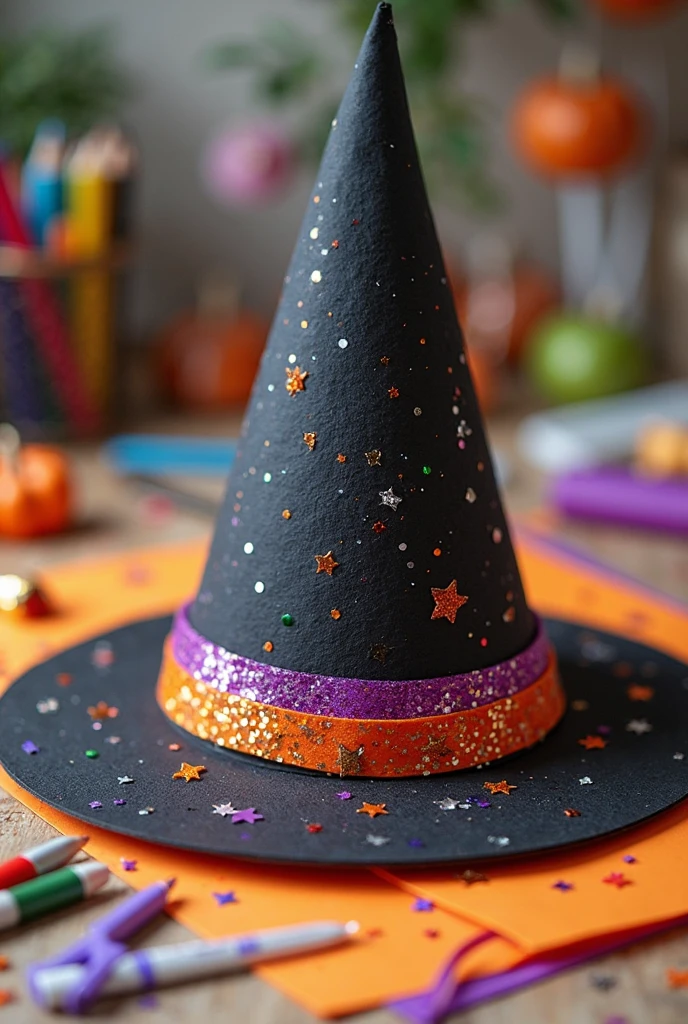
A witch hat made from cardstock is a simple and fun decoration for a kid’s room. It requires just a few basic supplies like black cardstock, glue, scissors, and some ribbon or markers for decoration.
First, the cardstock is cut into a large circle for the brim and a cone shape for the hat’s top. The edges of the circle are trimmed to form the brim, and the cone is rolled and glued together.
After assembling, kids can personalize their witch hats with glitter, stickers, or drawings. These hats can be hung from the ceiling or placed on shelves to add a festive touch.
Using cardstock makes the hat durable enough to last through the Halloween season. This craft is manageable for children with a little adult help and encourages creativity while decorating indoors.
Paper chain garlands with Halloween colors
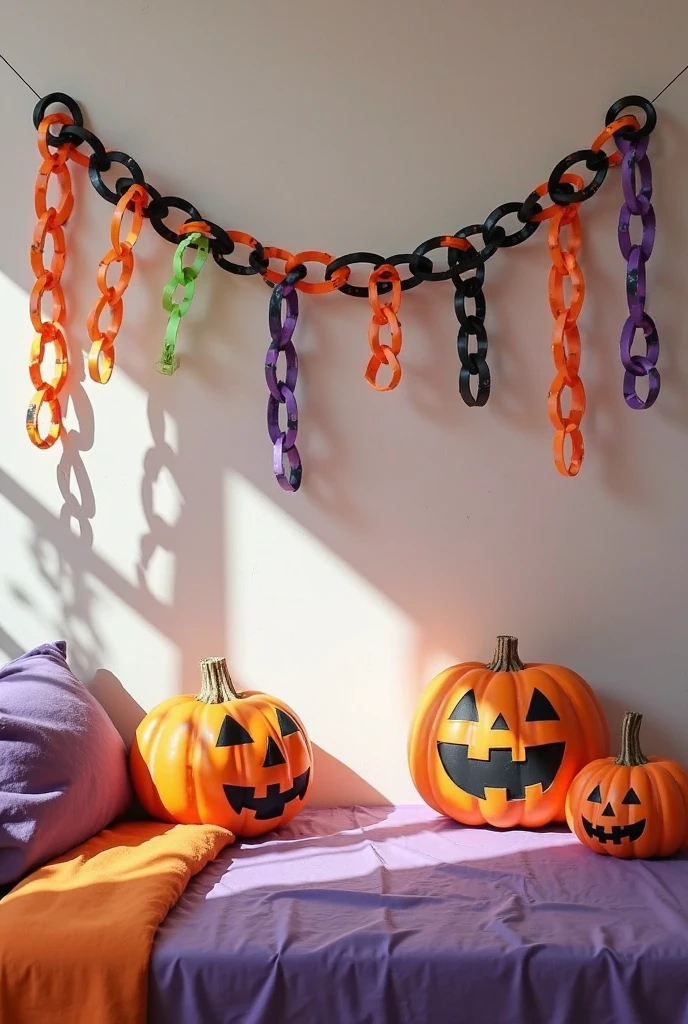
Paper chain garlands are a simple and fun way to add Halloween spirit to a kids’ room. They only require strips of paper, glue or tape, and scissors. Using classic Halloween colors like orange, black, purple, and green makes them festive and bright.
He or she can cut paper strips and link them to form a chain. This project is great for kids because it helps with fine motor skills and creativity. Plus, it only takes a few minutes to make a long, colorful garland.
The garlands can be hung across walls, windows, or along shelves. Adding shapes like pumpkins or ghosts to the chains can make them more playful. It’s an easy decoration that brings a cheerful Halloween vibe without any mess.
14. Bat silhouette window clings
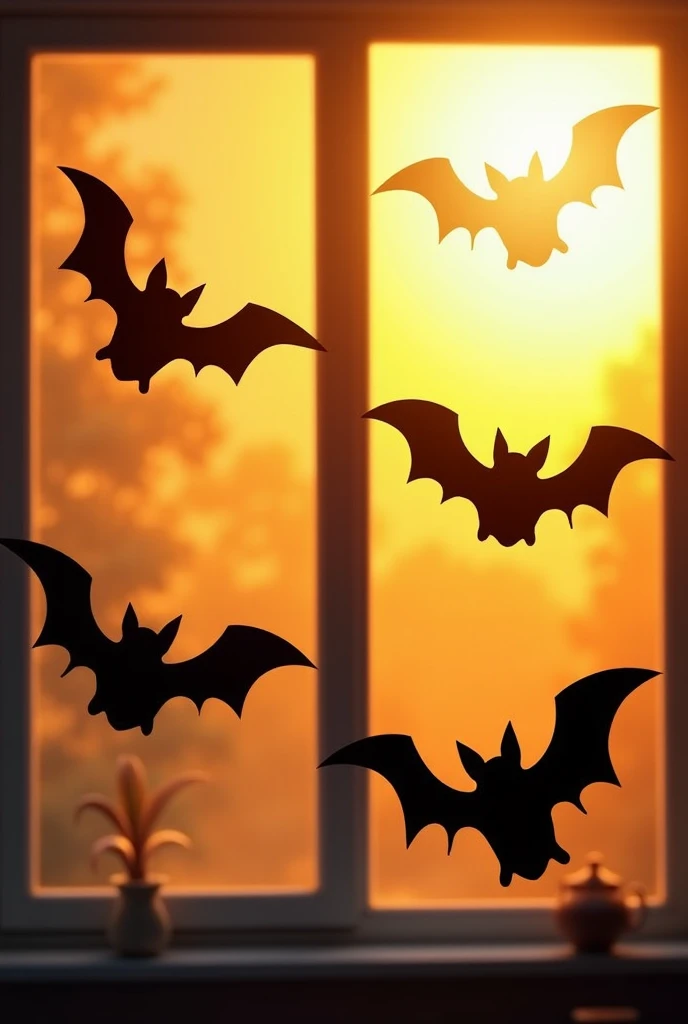
Bat silhouette window clings are a simple and fun way to add a spooky touch to a kid’s room. They are easy to apply on windows and can be removed without leaving any residue, making them perfect for temporary decoration.
Kids can help cut out bat shapes from black adhesive sheets or construction paper. These bats stick right onto glass, mirrors, or other smooth surfaces, creating a playful and eerie effect when daylight shines through.
Using bat clings allows for creative placement. They can be scattered across the window or arranged in patterns like garlands or swarms, adding visual interest to the room.
These clings are lightweight and safe for children to work with. Plus, they bring a festive Halloween vibe without taking up any floor or shelf space, ideal for smaller rooms.
Glow stick jars for night light
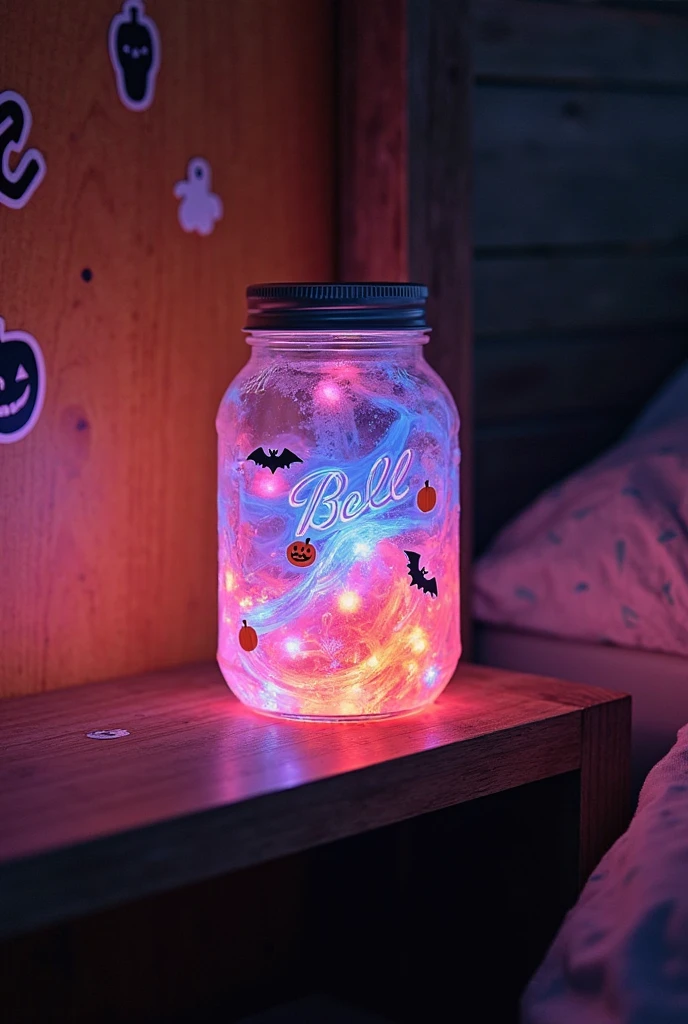
Glow stick jars are a simple and fun Halloween decoration for kids’ rooms. They use mason jars filled with the glowing liquid from broken glow sticks, creating an instant soft light. This makes a low-cost, battery-free night light.
The jars can be decorated with glitter or Halloween-themed stickers. Kids enjoy helping with the project because it feels like creating their own magical lanterns.
These jars work well for a spooky effect without being too bright or scary. They can also be placed along shelves or window sills to add a gentle glow to the room.
Making glow stick jars takes just a few minutes and requires minimal supplies. It’s a creative way to introduce a safe, glowing element to any Halloween decor inside a child’s space.
Safety Tips for DIY Halloween Decorations
Children’s safety should be a top priority when creating Halloween crafts. Choosing the right materials and maintaining a clean, supervised workspace can prevent accidents and ensure a fun experience.
Kid-Friendly Craft Materials
Using safe, non-toxic materials is essential for kids’ decorations. Avoid sharp objects, such as pins or scissors with pointed tips, unless closely supervised. Opt for blunt-tip scissors and washable glue or tape instead.
Materials like felt, construction paper, pipe cleaners, and foam sheets are soft and easy for small hands to manage. Avoid small parts that could cause choking hazards, especially for younger children.
Glow sticks, battery-operated tea lights, or LED string lights are safer than candles. These provide light without the risk of fire, making decorations both fun and secure.
Supervision and Cleanup Advice
Adults should always monitor children during craft time to handle any potential risks immediately. It’s important to guide kids on how to use tools correctly and safely.
After crafting, clean all surfaces and store sharp tools and leftover supplies out of children’s reach. Dispose of scraps to reduce tripping hazards or choking risks.
Encourage kids to wash their hands after handling glue, paint, or glitter to avoid irritation. Creating a dedicated crafting area with easy-to-clean surfaces can also help maintain safety and order.
Decor Placement and Room Layout Ideas
Thoughtful placement of Halloween decorations can brighten a kid’s room without making it cluttered or overwhelming. Using walls, shelves, and corners creatively helps keep the space safe and fun. Engaging kids in arranging decorations can make the process more enjoyable and personal.
Creative Ways to Showcase Decorations
Floating shelves are perfect for displaying small DIY pumpkins, ghosts, or spider crafts without taking up floor space. Hanging decorations like paper bats or ghosts from the ceiling adds a floating effect and keeps pathways clear.
Using corners for thematic displays works well. For example, a “mini haunted corner” with a small table, spooky books, and a battery-operated candle creates a cozy nook.
Mirrors and windows can also amplify decorations. Stick paper cutouts on windows to let natural light highlight the shapes during the day, or add fairy lights around mirrors for an eerie glow at night.
Creating zones in the room—such as a spooky reading nook or craft table—helps organize decorations by theme or activity.
Involving Kids in the Decorating Process
Kids can help decide where to place their favorite decorations, which gives them ownership of the space. This usually makes them more excited about the décor and helps them practice spatial awareness.
Encouraging kids to create their own decorations encourages creativity and provides natural spots to display them. Parents can guide which items are best for higher shelves or safer wall spots.
Simple tasks like hanging paper bats with tape, arranging garlands, or setting up table displays keep kids engaged without needing constant supervision.
Involving kids also means keeping safety in mind—avoid fragile or sharp items within reach and choose lightweight decor to prevent accidents.